Below there are 24 photos of our recent basement remodel. Updating our basement included waterproofing, mold removal, and cosmetic updates to flooring, ceilings, and walls. Hopefully, you will enjoy the progression of the photos below!
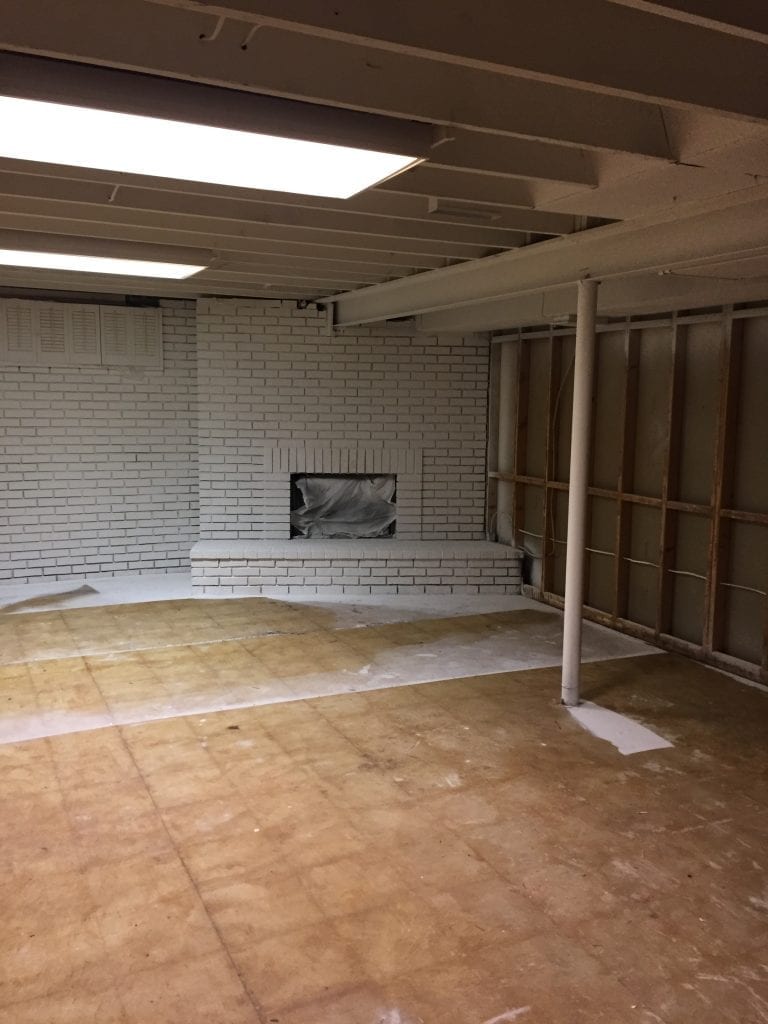
Pre Basement Remodel in 2015
When we moved into our home in 2008, everything needed to be updated, including the basement. You could say we halfway updated the basement a few years after moving in. We painted the wood paneling and laid down cheap flooring. The updates helped, but in the back of my mind, I always wanted to update the basement for real. After getting flooded in 2019, our hand was forced to update.
As you can tell from the photo below, we were hosting a fantasy football draft at our house, which isn’t nerdy at all.
Our basement has four separate rooms (two storage rooms and an unfinished workshop).
- The Main Room (Pictured Below)
- The Kids’ Playroom
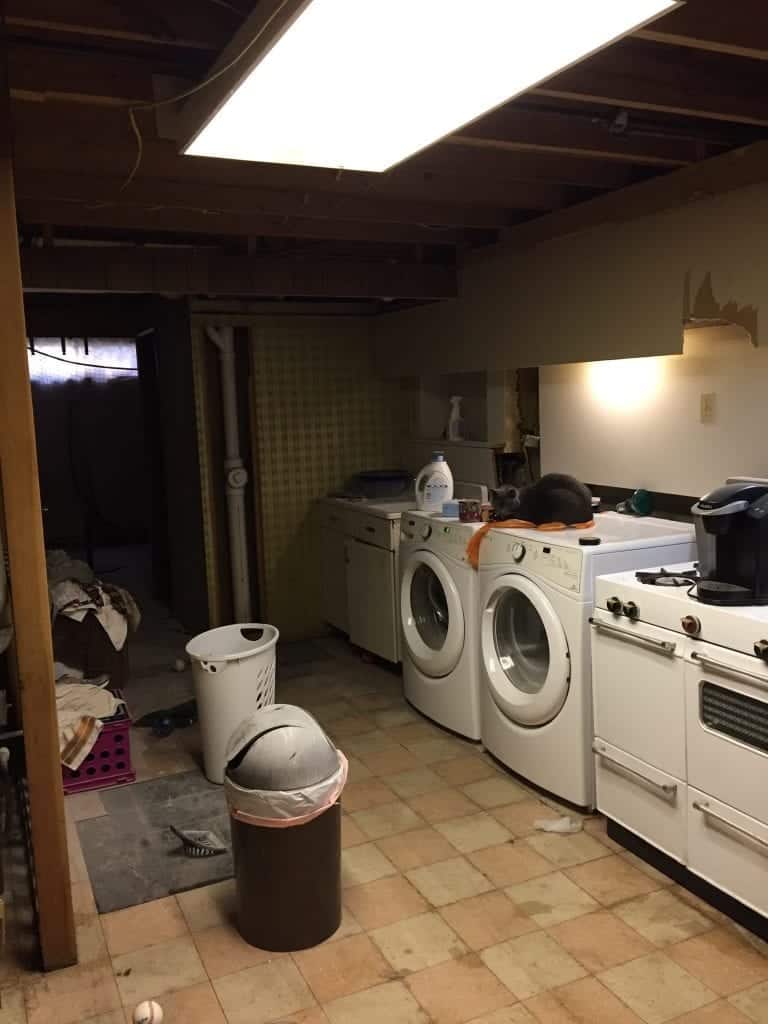
- The Laundry Room
- The Half Bathroom

When Our Basement Flooded in May 2019
A few months after spending nearly $25,000 to update our kitchen, we woke up in May 2019 to find about an inch of water throughout much of our basement. Water was coming in through the floors and corners of the wall, likely due to hydrostatic pressure. Thankfully, we didn’t fully expend our emergency fund and had some runway to address the issue.


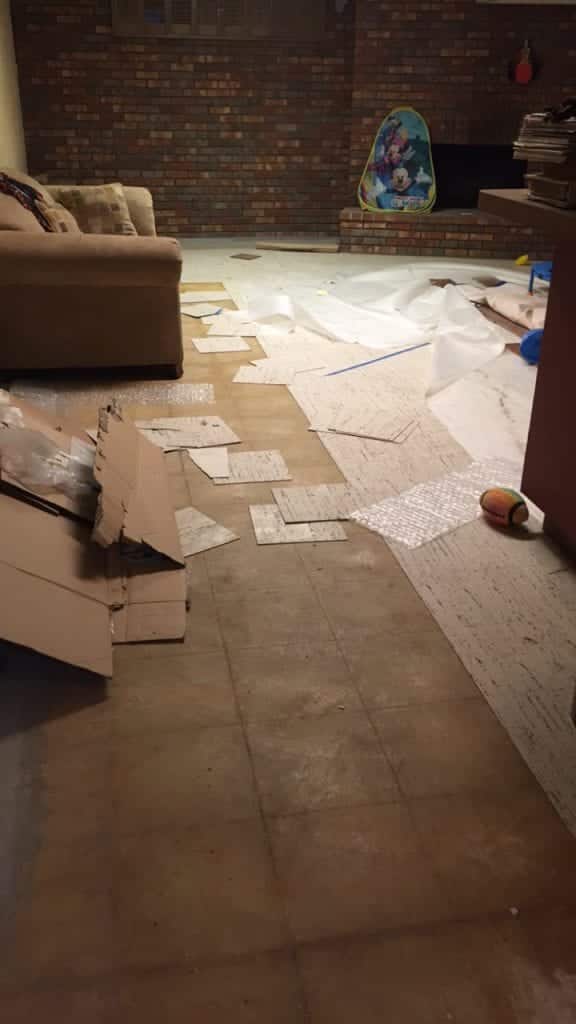
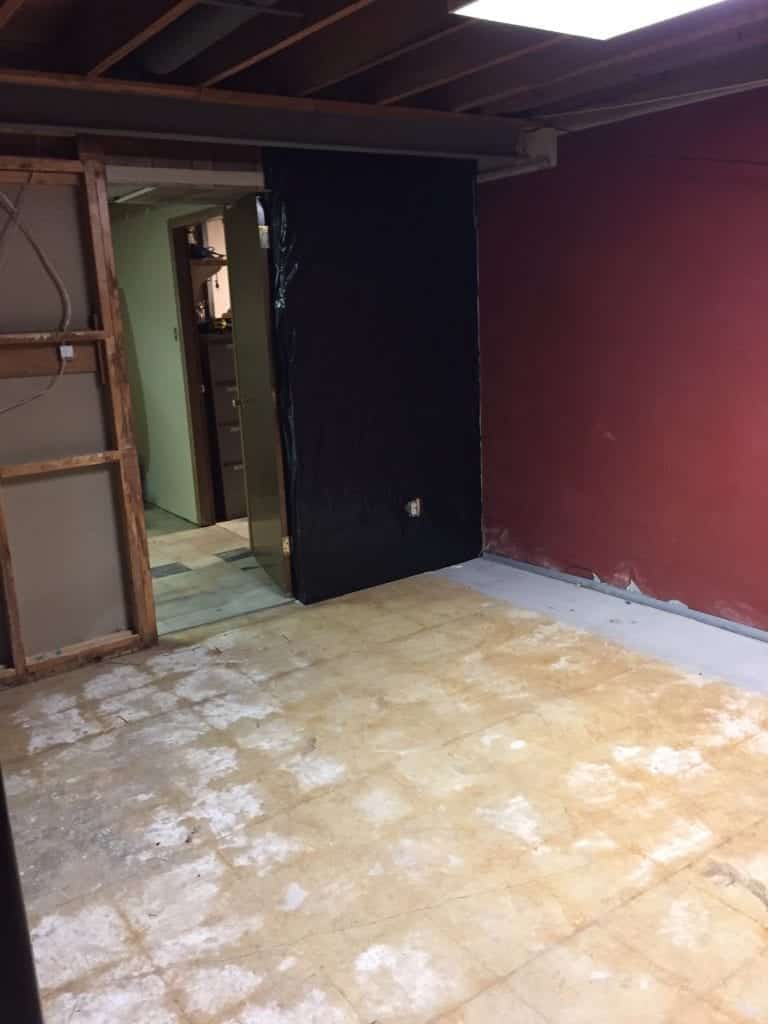
Demolition of Flooring and Drywall
We concluded that most of the flooring was ruined, as was much of the drywall. Additionally, we knew there was mold in the basement due to the flooding and a prior sewer backup, so we needed to get in between the walls. We pulled up not only the Pergo flooring that we put down a few years prior but also the original tile flooring that was installed in the 1970s.


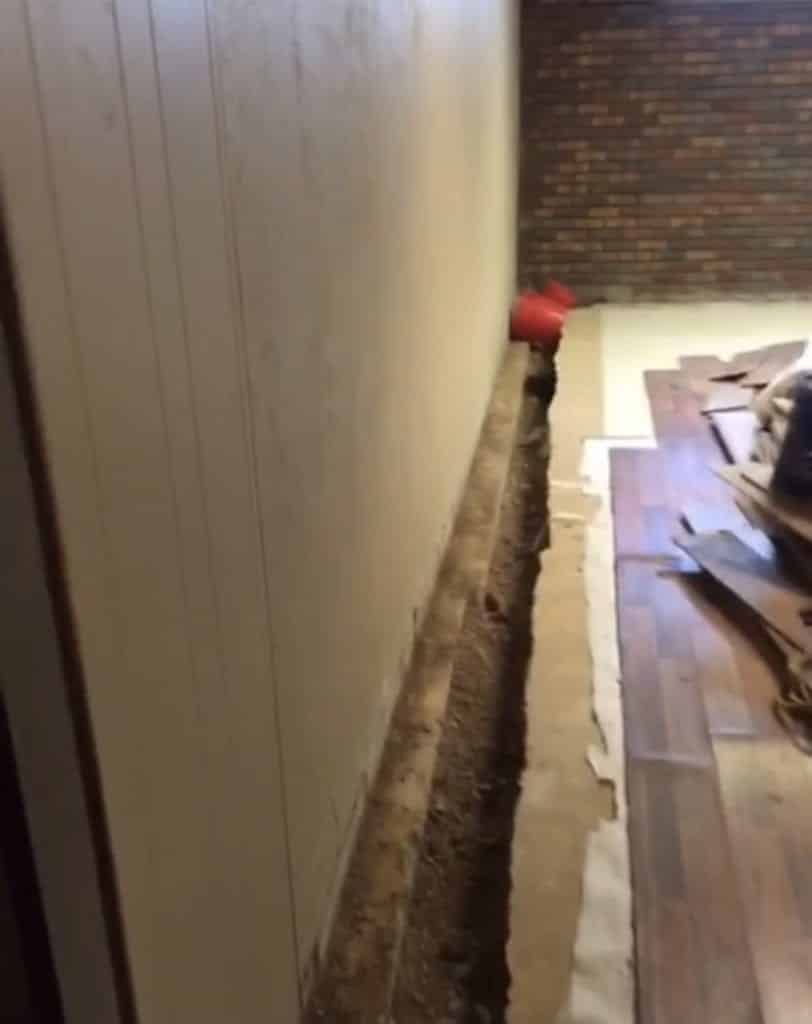
Waterproofing and Mold Removal
The most expensive part of our basement remodel was the waterproofing and mold removal. If we were going to update our basement the right way, we needed to address the water issue to prevent a future flood. We hired a contractor, and they came in and dug an 18″ trench around our basement. They then filled the trench with rocks and covered it with concrete. We also had a sump pump installed. A different contractor then came in a few weeks later to remove mold in between the walls and on the floor. This cost nearly $15,000, which was roughly the same as the remainder of our remodel.
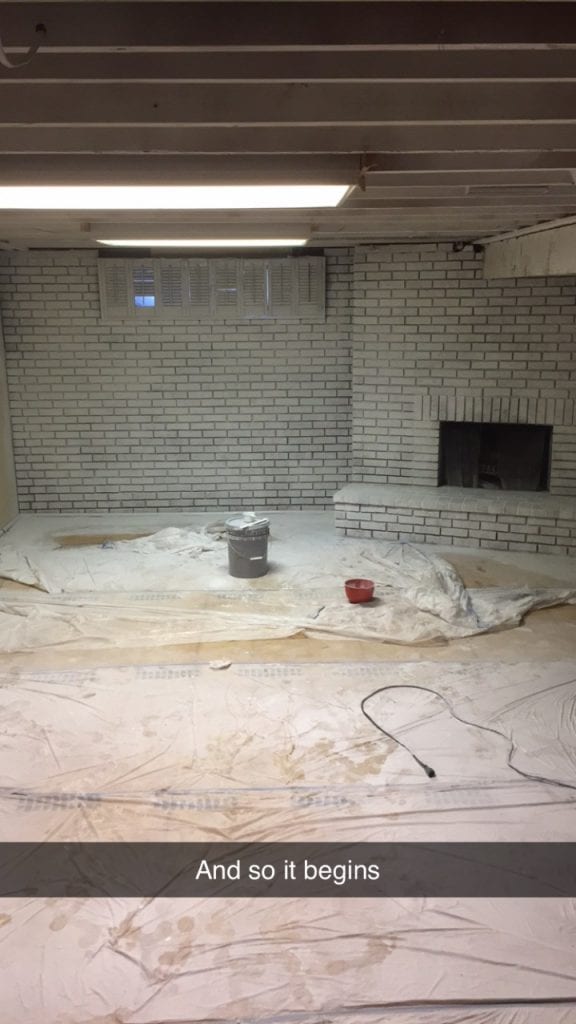
Painting the Ceiling and Brick Wall
With the waterproofing complete, it was time to start working on the basement remodel. I’m not particularly handy, but I decided to take on all of the paint-related tasks. That included the ceiling and all surrounding walls. The first step was painting the ceiling and the single brick wall with the built-in fireplace.
My original plan was to rent a sprayer from Home Depot. However, knowing all the prep work that went into this effort, such as laying plastic sheets on the floor, I decided to purchase a sprayer since I knew it would be a multi-day effort. The cost of buying a mid-grade paint sprayer was about the same as renting for two days.
This seemed like a great idea, but the sprayer I bought didn’t hold up very well and ended up breaking about three-fourths of the way through the job. I then ended up having to rent a sprayer anyway. Either way, hiring someone to do the work was still much less expensive. And for my first-time spray painting a ceiling, I think I did a pretty good job. I’d estimate the total cost of all equipment and materials (paint) cost us about $1,200.
Drywall and Flooring
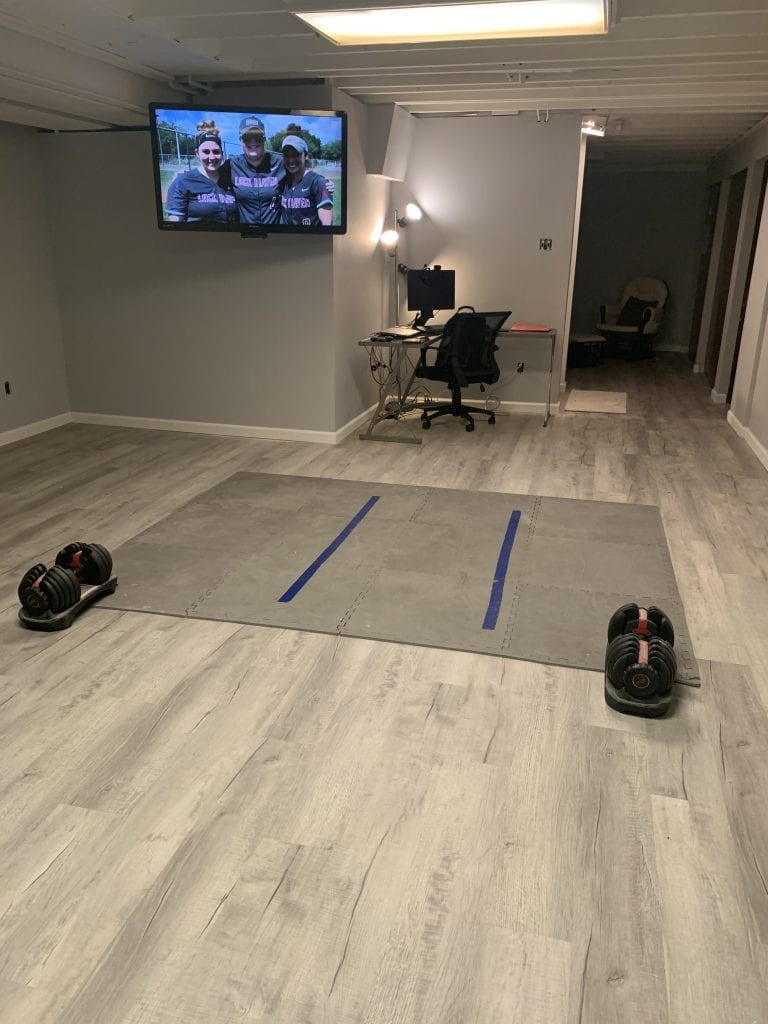
We decided to hire out the drywall and flooring work. Both contractors did an outstanding job. The drywall contractor was in and out in a few days. For the flooring, we ended up going with luxury vinyl plank flooring. The timing of the flooring installation could not have worked out better.
The contractor installed the flooring the week before the pandemic lockdowns started in mid-March 2020. Given that the basement has been my home office for the past seven-plus months, I’m not sure what we would have done if we had delayed installing the flooring. Ironically, the driver for completing the project was my daughter’s second birthday and we had a big party planned, but had to cancel last minute as it was on the weekend the lockdowns started happening.
The total cost of the drywall installation was $1,300, and the flooring (including baseboards) was $7,400.

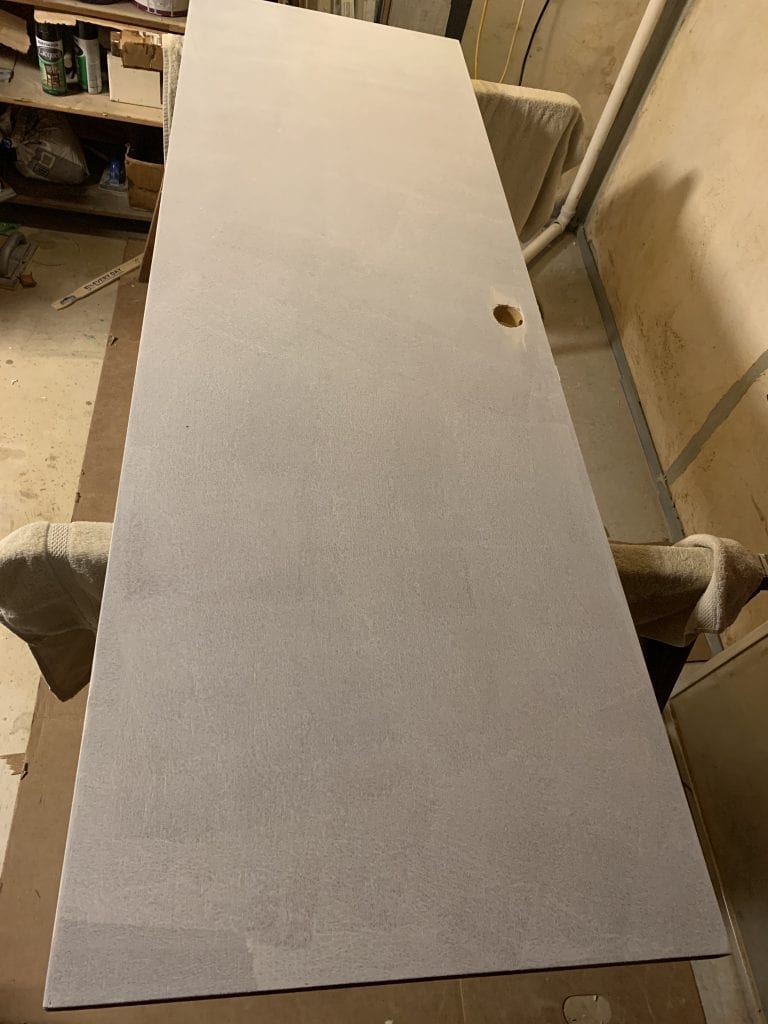
Updating Doors and Other Loose Ends
If you missed my recent post on updating our basement doors, be sure to check out our in-depth post. Going in, I wasn’t exactly sure what to do about the four existing doors in the basement. My initial reaction was to go out and buy new doors, though I knew new doors don’t always fit the best in older frames. I then came across photos of doors painted with the addition of this trim set from Home Depot. I must say that the doors turned out even better than expected. They look as good as new for less than $100 per door.
In addition to updating the doors, I replaced all outlets and light switches, painted the door frames, and installed fixtures (toilet, mirror, vanity) in the bathroom. The total cost of everything in this section cost about $2,000.


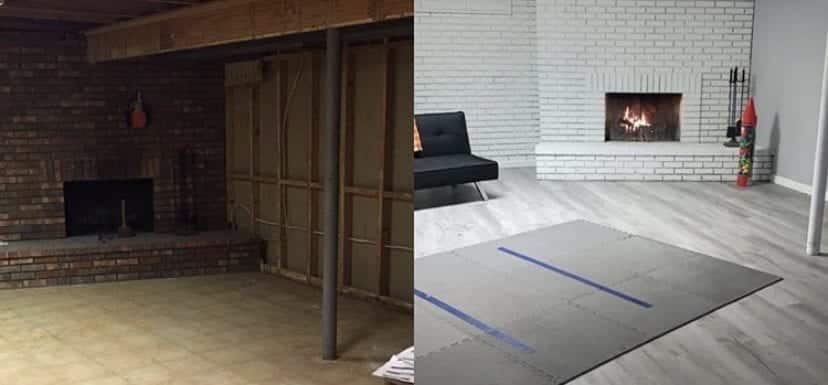
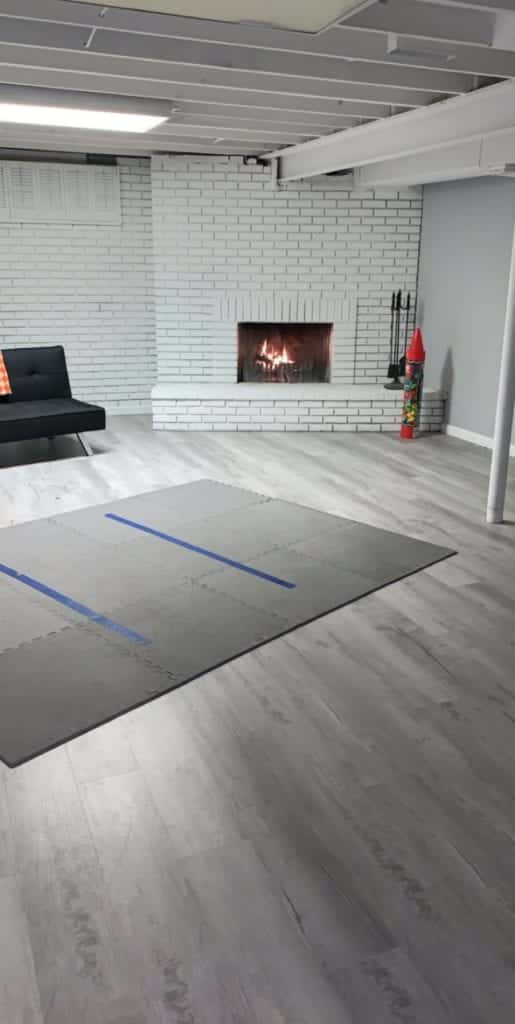
Before and After Photos of Each Room of the Basement Remodel
Main Room: Home Office, Workout Room, and Movie Room


The Kids’ Playroom

The Laundry Room

The Half Bathroom


Thanks for following along on the journey of our basement remodel. Our basement remodel cost was about $30,000, half of which consisted of waterproofing and mold removal. Since the basement had previously been refinished and was already constructed with electricity, the largest cost was purchasing and installing flooring and baseboards. The timing could not have worked out better as our flooring was installed the week before the pandemic hit full force in mid-March. Tying up loose ends, such as painting, replacing outlets, and updating doors, kept me busy when we weren’t leaving the house much. Now the question is, what project will we tackle next?

Mark is the founder of Financial Pilgrimage, a blog dedicated to helping young families pay down debt and live financially free. Mark has a Bachelor’s degree in financial management and a Master’s degree in economics and finance. He is a husband of one and father of two and calls St. Louis, MO, home. He also loves playing in old man baseball leagues, working out, and being anywhere near the water. Mark has been featured in Yahoo! Finance, NerdWallet, and the Plutus Awards Showcase.
Wow these look great! I love what you guys chose for the flooring.
Looks great! It must have been tough to see the damages from the flood. I think the new basement is stunning.